USB Interface Demo Board Using PIC18F4550

PIC18F4550 USB DEMO INTERFACE BOARD PROJECT
This project / USB hardware is quiet easy to make at home with few components, this piece of hardware will be detected by your computer like any other external device once it’s completed. This is a Simple USB demo interface development board project and demonstrate excellent USB interface to Microcontroller. This is my first project in this website. It is a USB demo board using PIC18F4550 microcontroller. This project originally was published on my old Website in year 2010 But the site had to be shutdown hence I included this project in this one website.
PIC18F4550 allows this board to control 8 led’s through laptop USB port, a small application written on C# can control the glowing of the led’s on board with simple Mouse clicks. With this project you can Create your own USB control from your laptop computer. An application written in C# on you computer will control few LED's on a Circuit board, the circuit board will connect to your computer via a USB port.
Please watch the video below so see the PIC18F4550 Microcontroller in action.
PIC18F4550 TUTORIAL
-I am enclosing the entire project at the end of this page. Initial stages this project was tested on windows XP, however it works on vista and win7 too.
-You can download the entire project at that end of this page or you can follow a step by step tutorial which is written for absolute beginners with microcontrollers.
- I am assuming that you already have a microcontroller programmer, if not then you can make you your own microcontroller programmer here.
-First you need to make the USB Demo board with the schematic below then , You have load the firmware code into the microcontroller with a suitable programmer. Then after the code is loaded , USB Interface Board will be detected by your computer like any other hardware.
I am also enclosing the driver. Go to the end of this page where you'll find all the schematic and necessary software.
STEP BY STEP Tutorial For Beginners
- 1- The Making Of the Hardware - http://www.rakeshmondal.info/pic18f4550-project-tutorial-part-1-USB
- 2- FIRST TIME PROGRAMMING - http://www.rakeshmondal.info/programming-a-microcontroller
- 3- Making of JDM PROGRAMMER TO LOAD CODE - http://www.rakeshmondal.info/How-to-make-a-JDM-Programmer
- 4- CONFIG WINPIC 800 with JDM - http://www.rakeshmondal.info/winpic800-config-for-JDM-Programmer
- 5- DRIVER INSTALLATION for PIC18F4550 board - http://www.rakeshmondal.info/pic18f4550-Driver-installation-tutorial
- 6- BOOTLOADING - http://www.rakeshmondal.info/BOOTLOADING-PIC18F4550-USB-BOARD
- 7- FIRMWARE TO CONTROL 6 LED in PIC18F4550 - http://www.rakeshmondal.info/cs-firmware-control-6-leds
- 8 -C# application to control pic18f4550 board DOWNLOAD - http://www.rakeshmondal.info/CS-Application-To-Control-PIC18F4550-Board-6LED.zip

PIC18F4550 Demo Board

PIC18F4550 USB BOARD
It’s a low cost Demo Board that provides cool interface to your computer, an excellent USB interface to Microcontroller and it can be used to control various devices like DC Motor, Stepper motor, Servo, relay switch etc with your laptop or any computer with a USB port and dot net framework installed. A small program that written in C# communicates with the hardware to issue commands to set the pins of the Microcontroller.
You can replace the led's with anything else you want to control like DC motors, steppers motors. This USB project will require a microcontroller named as PIC18f4550. PIC18F4550 is a pic18f Series of microcontroller designed by microchip. An excellent USB feature of pic18f4550 makes it perfectly suitable for such USB application. There are also other microcontrollers which has ability of Communicate vie USB port like pic18f2550 but pic18f4550 has more number of pins (40pins) , hence you get more number of pins to control. With little modification on pic18f4550 codes it can also made to work with pic18f2550, because the architecture of 18f4550 and 18f2550 are quiet similar. However we are going to use PIC18f4550.
I tested all the connection 1st in Bread Board but it didn’t turned out so well because of loose connections , So making it on PCB reduces the chances of loose connection for perfect working of the USB Demo Board using PIC18f4550 microcontroller.

PIC18F4550 DEMO BOARD

PIC18F4550 BOARD SCHEMATIC

PIC18F4550 ON BREAD BOARD
If you are experimenting for the first time with microcontroller then at a first glance it might look very simple to make this USB Demo Board but it is not, same time it is not that hard also. Beginners can follow the Step by step procedure above.
Desktop’s can’t be carried everywhere and laptops don’t come with Parallel port anymore for your projects like STEPPER MOTOR CONTROL. so this demo USB board can be very useful as it allows to control using USB interface then that of traditional Parallel port.
As Arduino Boards are quiet costly and you really don’t wanna invest so much on a Arduino board for the very 1st time on microcontroller, and its good to start with basics, rather if you make any fatal mistake then your microcontroller is fumed (like exceeding Vmax of microcontroller).
Using Microcontroller don’t make things like simply read the schematic, make connections on bread board and you are done! Microcontroller need to be programmed. Preparing the Board with your soldering Iron on PCB, Programming the microcontroller and then 1st time loading into the microcontroller are completely separate stories.
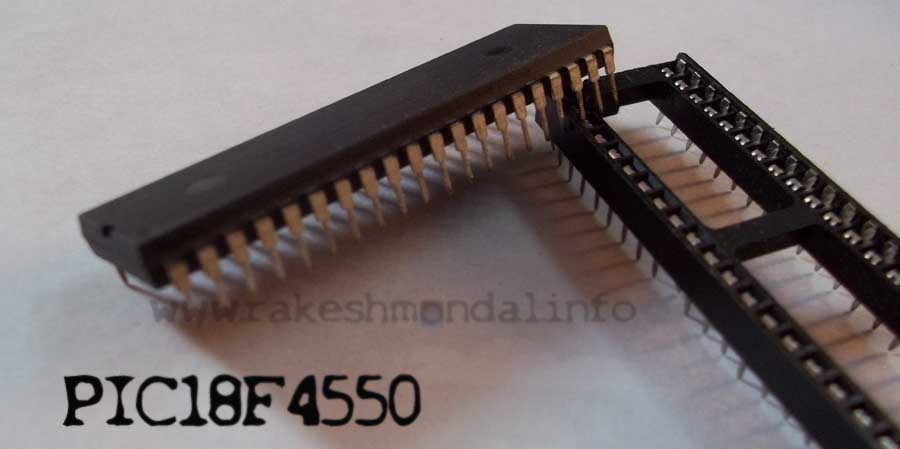
PIC18F4550
In my coming posts I will provide a complete tutorial and pros and cons that must be followed, along with things that must be taken care of and common mistakes while making the demo board which are fatal for Microcontroller. Please follow my tutorial for making this board.

PIC18F4550 ON BOARD

PIC18F4550 + LCD Application

PIC18F4550 ON PCB
Project Download
- Drivers
-Download C# Application to Control the board
-Incase if you don't have a Programmer [JDM]
Thanks For reading
NEXT >> USB Interface Board using PIC18F4550 [Complete Tutorial]
